Pay in installments of $6.51 with
 ,
,
 and
and

Shipping Estimate
USA
- USA
- CAN
- USA
- CAN
Ships within 48 hours · Estimated delivery Oct 19 - Oct 24
 Promo Codes Available:
For Your Every Summer RSVP, with Code: SUMMER15
Description
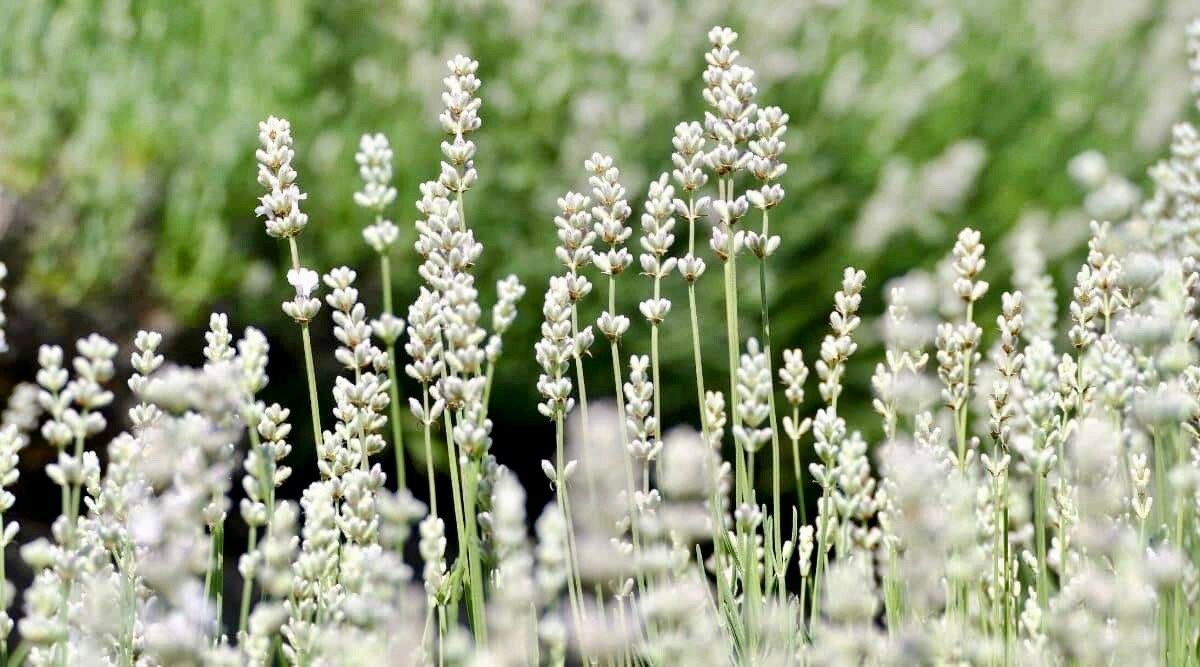
lavender plants for outside Rare White Lavender ~ Lavendula Ellagance ~ Plants ~ Garden ~ Grow You – Your Plant BitchWhite lavender may seem like an oxymoron. This flowered herb is known for its decadent aroma, soothing properties, and versatility of uses. But its white flowered cousins are equally useful and dazzling in the garden. Their albino colored spikes have all the same properties as standard lavender, but with a fun bleached twist. ~ Includes ~ ~ 1 Seed. ~ Grow and Care Instructions. Lavender Grow and Care Instructions The best method to use for growing
White lavender may seem like an oxymoron. This flowered herb is known for its decadent aroma, soothing properties, and versatility of uses. But its white-flowered cousins are equally useful and dazzling in the garden. Their albino colored spikes have all the same properties as standard lavender, but with a fun bleached twist.
~ Includes ~
~ 1 Seed.
~ Grow and Care Instructions.
💜 Lavender Grow and Care Instructions 💜
The best method to use for growing lavender from seed is to start them indoors. They can take a long time to germinate, and tend to sprout unevenly.
Keeping them inside in a controlled environment will give you the most consistent germination rate.
Of course, you could try direct sowing them. They’re also a great candidate for winter sowing, since they do require cold stratification. So go ahead and experiment to see which method works for you. Successfully planting lavender seeds requires some special tricks. These cold hardy seeds need a bit of extra help in order to germinate. But don’t worry, it’s easier than you think.
Plant lavender seeds indoors 10-12 weeks before your average last frost date. If you want to direct sow them, you should do that in very early spring, as soon as the ground is workable.
You could also try planting them in your garden in late fall, so they will sprout in the spring. Or winter sow them as soon as the temps stay below freezing in your area.
In order to germinate, lavender seeds need a period of cool temperatures called “cold stratification”.
If you skip this step, you may still have success. But most likely, you’ll see a very low germination rate.
The easiest way to cold stratify lavender seeds is to place them in moist soil, then put them into the refrigerator for 3-6 weeks before planting. You can cover them with a thin layer of dirt if you prefer, but take care that they aren’t more than 1/8″ deep.
Step 1: Prepare the soil – If you plan to use pellets, moisten them before placing them into the seed trays. Otherwise, fill the plastic cells with the soil mix.
Step 2: Decide how many seeds to plant – Since they tend to germinate unevenly, I recommend planting 2-3 lavender seeds per hole or pellet.
If you’re direct sowing them outside, space them in groupings about 2″ apart, and thin them to 18″ later on.
Step 3: Plant the seeds – Since they need light to germinate, I prefer to drop my lavender seeds on top of the soil and leave them there.
Step 4: Water the soil – If it’s not already damp, then water the soil until it’s evenly moist.
It’s a good idea to water the trays from the bottom, rather than over the top, to avoid displacing the tiny seeds.
Step 5: Cover the trays – Put the plastic dome lid on top of the trays. This will help to keep the soil moist during germination.
Step 6: Give them plenty of light – Place them in a bright location, or turn on the grow lights. Remember, they need light in order to germinate, so give them plenty of sunshine if you don’t have a plant light.
Step 7 (optional): Monitor the temperature – Ideally, you should keep the soil between 60-65F degrees for the best germination rate. Use a soil thermometer to monitor the temperature.
LIGHT: After germinating, the seedlings can get leggy very fast. So keep your grow light 1-2″ above them at all times. A sunny window won’t be good enough to prevent legginess.
WATER: It’s important to keep the soil evenly moist, but never soggy. I recommend using a soil moisture gauge to get it just right.
FERTILIZER: When they have 3-4 true leaves, you can start feeding lavender seedlings with a 1/2 dose of liquid fertilizer, or compost tea each time you water.
POTTING: After they are twice the height of the seed tray, pot them up into deeper containers. I like plantable pots, but you could certainly use plastic ones if you prefer.
💜 Best Wishes, Your Plant Bitch (Quinn)
Shipping Notes
- Free Standard Shipping on $100+ Orders to the USA.
- Except Preorder products are shipped in 48 hours.
- Delivery to the USA:
- Standard Shipping : 3-10 business days
- If time is of the essence, please consider selecting expedited delivery for faster service.
Exchange/Return Notes
- We offer a 30-day return/exchange service after receiving.
- Final sale items are not eligible for returns or exchanges.
- To process your return/exchange, please contact us at [email protected]
- Please click here for more details>>> Return & Exchange Policy